How to Set Up and Enable SSH on Ubuntu
sudo apt-get update
To get started, we have to install the SSH server. You can find
and install the openssh-server package in Software Center.
Alternatively, open a terminal and type the following command:
sudo apt-get install openssh-server
Once OpenSSH server has been installed on your machine, you’ll
need to make a copy of the default SSH configuration and rename it as factory
default. This is so if you mess up your configuration tweaks, you’ll be able to
restore the backup.
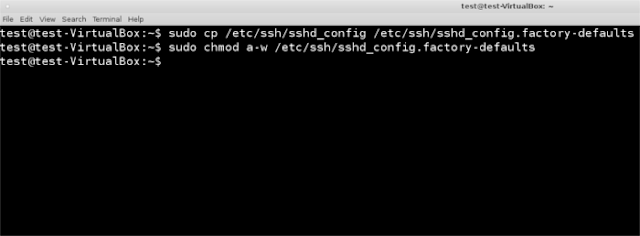
sudo cp /etc/ssh/sshd_config /etc/ssh/sshd_config.factory-defaults
After the backup has been
made, you’ll need to modify its permissions.
sudo chmod a-w /etc/ssh/sshd_config.factory-defaults
After the backup is taken care of, you’ll be able to configure your SSH file.
Note: only tweak this configuration file if you know what you are doing. Beginner users shouldn’t need to tweak anything for SSH to work.
sudo gedit /etc/ssh/sshd_config
When all of the changes have been made, you’ll need to restart the SSH service. If you’re using Ubuntu 14.04, you’ll need to rely on Upstart to reboot the SSH server.
sudo restart ssh
If you’re on Ubuntu 15.04+, use this systemd command to restart SSH instead.
sudo systemctl restart ssh


EmoticonEmoticon